iPhone restrictions or iPhone screen time passcode is known as Parental Control and parents can take this feature to set the time limit for their children. Parents can choose to make content and privacy restrictions inside that feature to protect their kids from reaching inappropriate texts, photos, videos, etc. So, as you can see now, it really is an important function you need to be aware of.
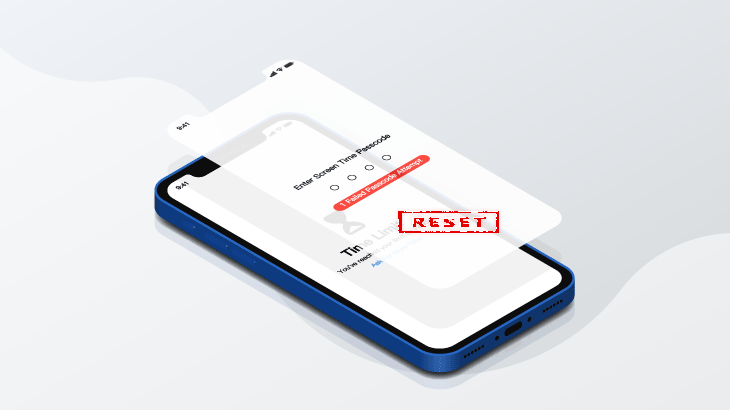
Nevertheless, some Apple users may forget their screen time passcode as they never typed this code before. So, they need to turn off restrictions on iPhone without password.
Here, I’ll show you how to make this impossible thing possible.
Way 1: Turn Off Restrictions on iPhone without Password using CloneGo.
Way 2: Disable Restrictions on iPhone without Password by iTunes.
Way 3: Turn Off Restrictions on iPhone without Password by iCloud.
After a simple setup without any data loss within several seconds, your Screen Time Passcode will be removed immediately. This app runs smoothly so you may enjoy the process. Also, CloneGo is 100% secure so you can feel free to use it.
Step 1: Get CloneGo for a free trial and install it.

Step 2: Keep the connection between your iPhone and the PC, and make sure your iPhone is unlocked during the process. Tap ‘Trust’ if necessary to trust your computer.
Step 3: Open CloneGo and tap on the Remove Screen Time Passcode.

Step 4: Read the on-screen note carefully.

Step 5: Click the blue Start button to proceed.

Step 6: It’s now removing Screen Time Passcode for you. Just wait for several seconds to finish.

Step 7: Once you see Remove Screen Time Passcode Successfully, you can unplug your iPhone from your computer.

Step 8: Go set up your iPhone with NO data loss. You should check this article to know how to set it up.
If you forget the screen time passcode but you can still remember the Apple ID and password, you can use iTunes to restore your mobile device without screen time password. However, you need to know that all files and data in your iPhone will be wiped out during this process. You can only recover your data if there is a backup.
Step 1: Power off your iPhone.
Step 2: Enter iOS Recovery Mode.
Step 3: Open iTunes and use a USB cable to connect your iPhone and computer.
Step 4: Click Restore iPhone > Restore and Update on iTunes.

Step 5: iTunes downloads iPhone Software Update to help you restore your iPhone and erase all data including restrictions password.
Step 6: iTunes starts restoring your iPhone once the download finishes.
Step 7: You set up your iPhone as a new one when it’s completed.
Besides iTunes, you can also use iCloud to Erase your iPhone and turn off restrictions if you know the Apple ID password. This method is similar to iTunes, and it will erase all data on your cell phone so you need to be careful. Take Way 1 using CloneGo instead if you don’t want to lose any data.
Step 1: Visit www.icloud.com/find.
Step 2: Log in to your iCloud account with your Apple ID and password.
Step 3: Select your own device on the device list.
Step 4: Find Erase iPhone on the pop-up window and click it.

Step 5: Once iPhone erasing is done, your restrictions password is gone.
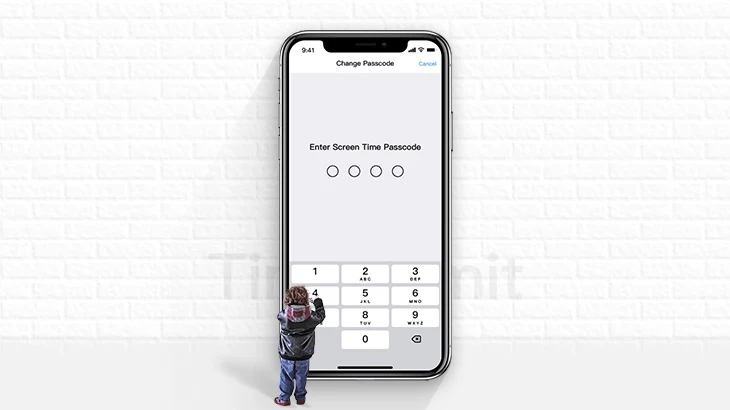
If you’re using the latest version of iOS, then it should be Screen Time instead of Restrictions, and you can click Forgot Passcode to reset it using your iCloud account/Apple ID & password. You can do this in your iPhone’s Settings app.
Step 1: Navigate to Settings > Screen Time > Change Screen Time Passcode > Turn off Screen Time Passcode.

Step 2: On the pop-up window, follow the instructions on the screen.
Step 3: Then enter your Apple ID to proceed.

Step 4: Type your Apple ID password to verify.
Step 5: Your iPhone’s Restrictions (Screen Time Passcode) have already been turned off now.
If you are patient enough to read through this article, you should know that it is not that difficult as you might think to turn off restrictions on iPhone without password. You got four different ways to solve the problem by reading this article.
However, in case you have any questions upon turning off iPhone restrictions, you can leave a comment to let us know. We will respond as soon as possible so please wait for it.
Copyright © 2004 - 2022 CloneGo. ALL RIGHTS RESERVED.